
Christmas Cookies With a Chippewa Valley Twist
after two attempts, our video producer shares his wisdom about decorating cookies ... and navigating life
words & photos by Ma Vue |
If you had told me at the beginning of this year that I’d still be in Eau Claire today, writing a piece about “Perfecting the Art of Holiday Cookie Decorating,” I probably would have laughed in your face. I joined Volume One in April as an interim video producer and had every intention of leaving the area for the golden coast before winter fell. Things didn’t pan out the way I originally planned.
The more projects I covered here at Volume One, the more I began to fall in love with the Valley all over again. From the L.E. Phillips Memorial Public Library reopening and new sculptures being put up to new buildings breaking ground, I just couldn’t leave yet. To celebrate the Chippewa Valley and its growth, some of us thought it’d be a good idea to pay homage through holiday sugar cookie decorating. Naive, silly things we were. They didn’t turn out – just like my plans to leave. But like those plans, something beautiful came of it.
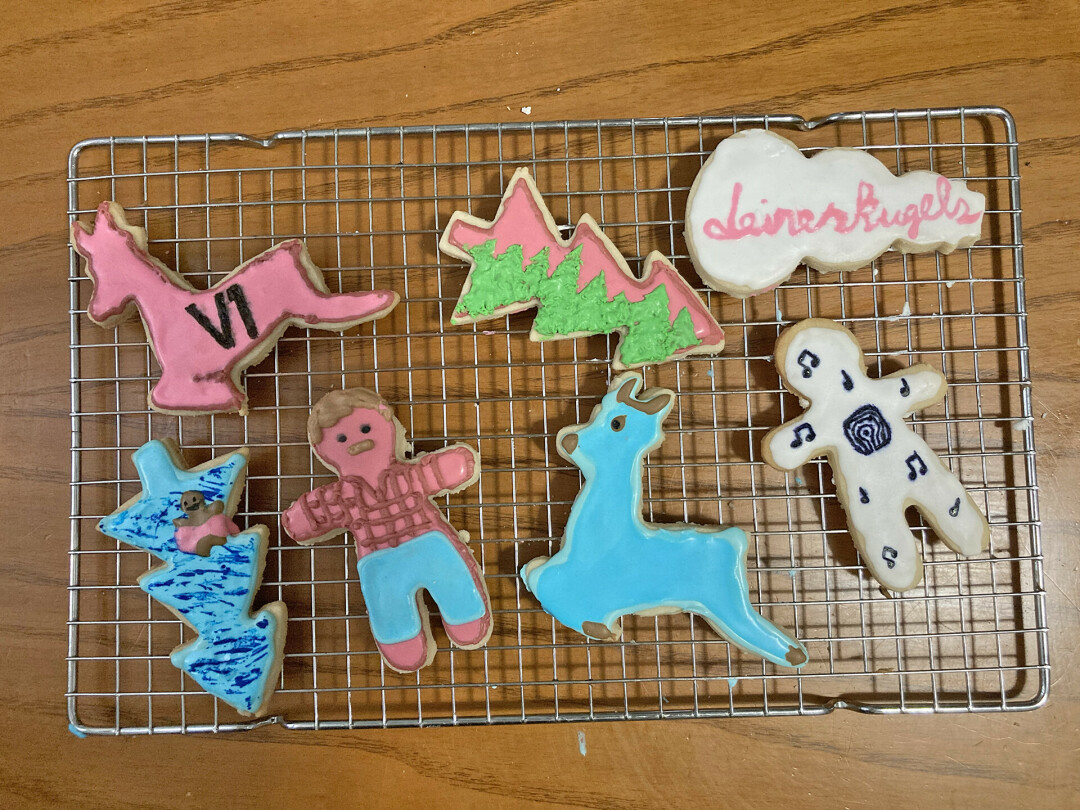
It took two attempts to get the cookies looking right. The plan was to cut out traditional holiday shapes and decorate them with iconic Chippewa Valley imagery. The first round was ... how do I put this nicely ... full of “creative liberties.”
For this article to make the cut, the cookies needed to look amazing. So I went back to the drawing board. I did a little more research and planned out the cookies this time, and in doing so, I discovered some tips and tricks that could make your relationship with holiday cookie decorating less turbulent.
It takes a little practice to get used to drawing with icing. I drew my ideas out on paper first, then practiced on the sheet with some icing. Once I felt more comfortable, I redrew the design onto the cookies by carving the outlines with a toothpick first. Next, I traced the outline with the icing. This is where the consistency of the icing is crucial. For the outlines, the icing needs to be thick enough to hold its shape (if it’s too runny, add powdered sugar to the icing for structure). Once the icing has hardened a bit (5-10 minutes), flood the cookies with more icing. Then, use a toothpick to help guide the flood icing into corners and crevices to get nice clean finishes! If the icing is too thick for spreading, add a little water.
Sounds like a lot of work, right? It was.
I still found the decorating enjoyable but preferred our first attempt tremendously more. The first go-around was full of laughter, jokes, and unsolicited opinions about each other’s lack of artistic integrity. It wasn’t too serious. That’s how it should be. Whether it’s a beautifully crafted piece of art or a horrifically re-imagined Santa Claus, decorating holiday cookies should be fun and shared with the people you love. So with that, my only true tip is to enjoy it! Enjoy your people, enjoy your places, and enjoy all the things that make you feel warm and fuzzy inside this holiday season.
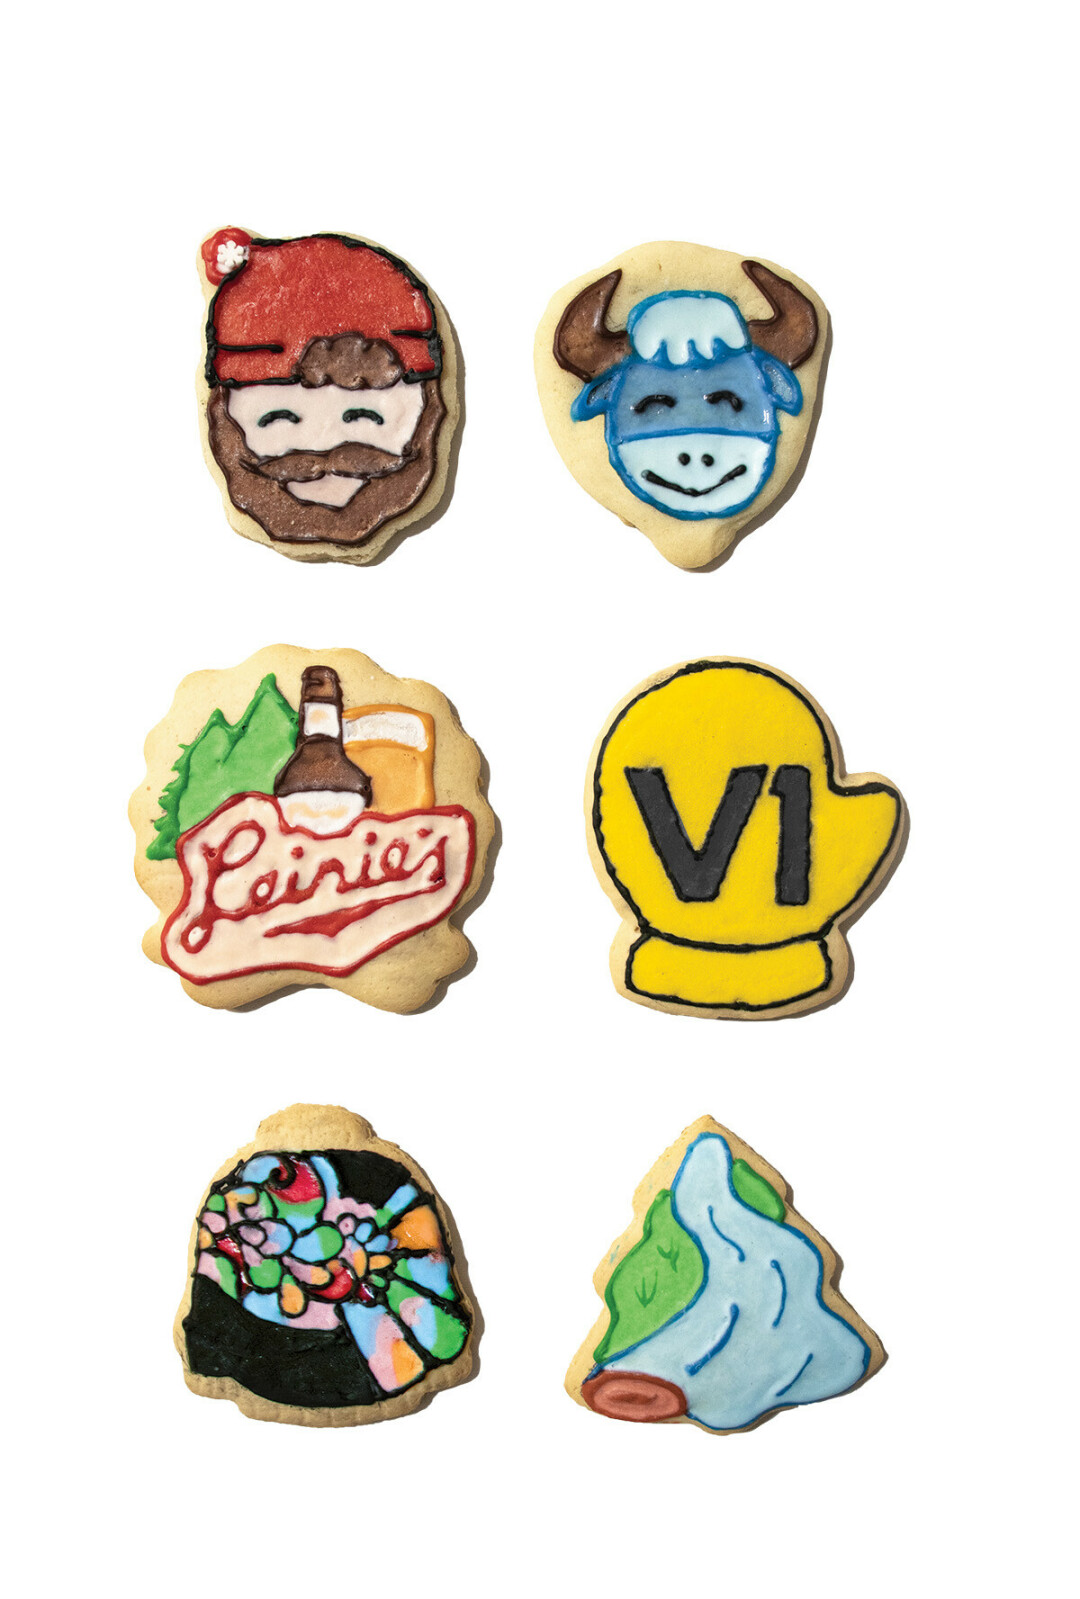
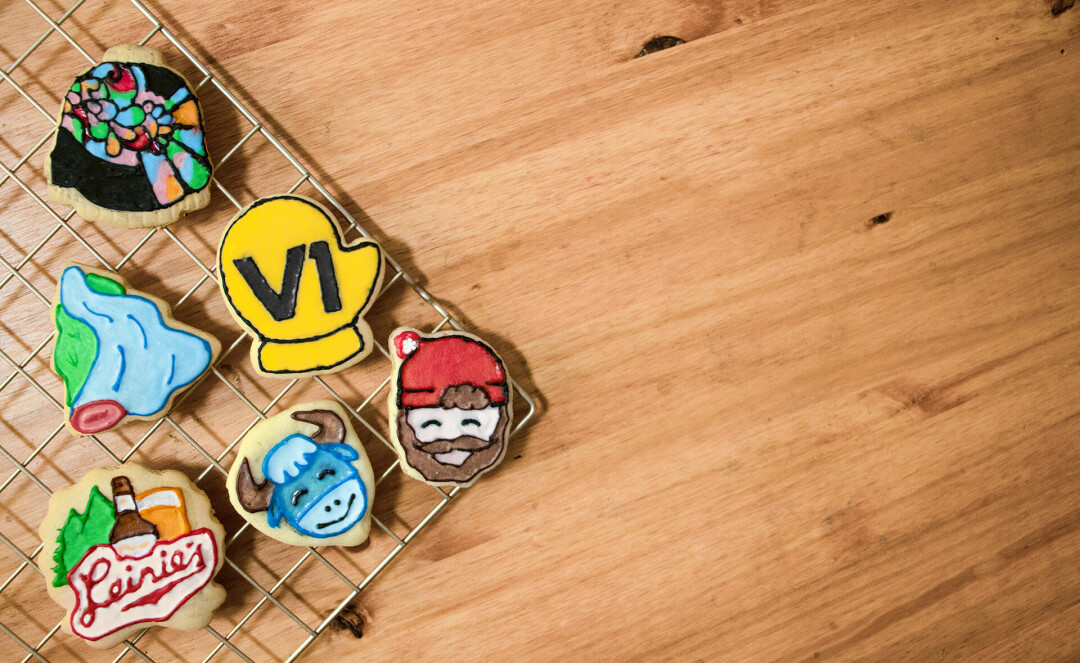
Looking for your own locally inspired decorating ideas? Here are close-ups of the cookies Ma Vue baked: