Exploring Creativity with DIY Beats
a simple homemade instrument can tune up your child’s social development

There’s just something about the joy of crafting a homemade activity that’s not only enjoyable for a child but also rewarding as a parent. To truly teach them how to build their own entertainment and spark an outlet for creativity is something to be valued. Sometimes the simplest forms of play make the biggest difference.
According to Nick Poss, Ph.D., owner and instructor of the Eau Claire Music School, learning music can have an impressive impact on a child’s social development.
“People who are interested in the benefits of learning music often overlook the social nature of music making,” Poss says. “Even playing simple rhythms with your children contributes to their ability to entrain to the people, actions, and sounds around them. This is true not just for their motions, but also things like brain activity.”
"People make music because it makes them feel good and it connects them to the people around them.” -- Nick Poss, Ph.D., owner and instructor of the Eau Claire Music School.
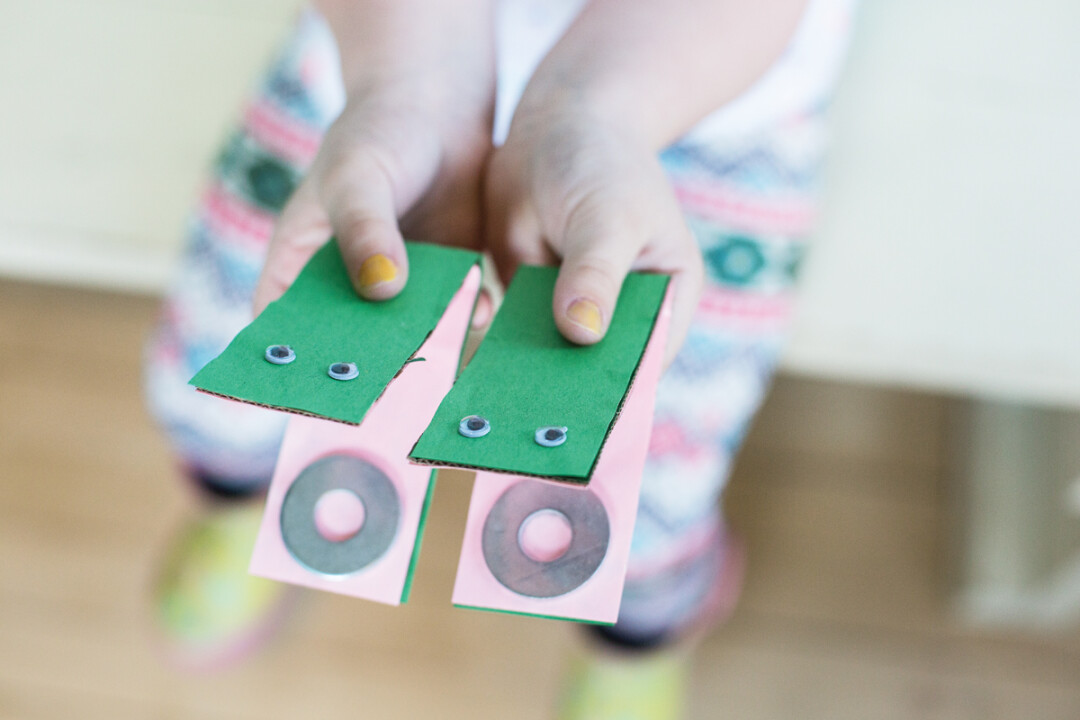
There are countless ways to get your child involved with music at home, but for simplicity’s sake we’ve included one simple DIY project to get you started. We present to you the alligator clacker. Tested and approved by the Eau Claire Music School’s preschool music class, this homemade instrument will get your child joining to the beat of their favorite songs and the world around them!
“No one learns music to improve their temporal cognitive processing or ability to direct their attention, but these long-term benefits have been demonstrated in several studies." Poss says.

The alligator clacker
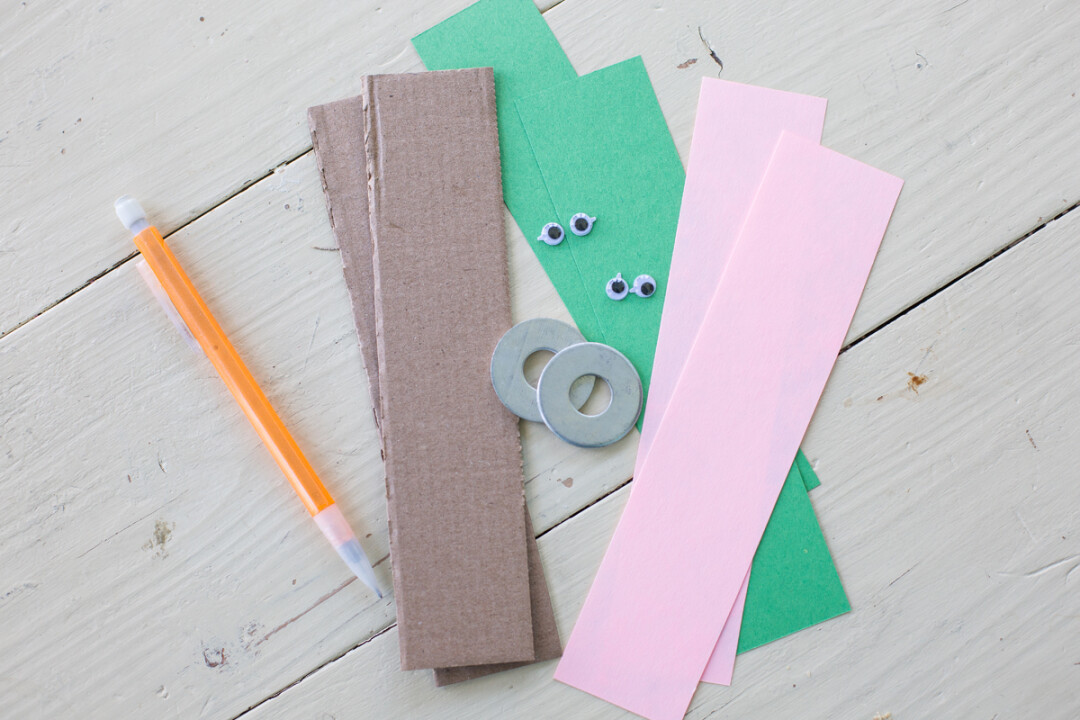
What you’ll need
- Corrugated cardboard cut into four long thin strips (about 5.5 inches long by 5 inches wide)
- Four washers
- White glue
- Scissors
- Green and pink construction paper
- Paper plate
- Pencil
- Small plastic eyes
Putting it together
- Lay the construction paper on a flat surface and trace around the long strips of cardboard with a pencil. (Make four green strips and four pink strips.)
- Cut out the traced strips from the construction paper.
- Lay the cardboard strips flat on the paper plate.
- Squeeze the white glue in a line down the middle of each strip and adhere one green strip to each.
- Flip and repeat with the pink construction strips.
- Pink side up, use the glue to adhere one washer to each end of the strips.
- Fold the strips in half and glue two eyes on one side of each clackers folder.
- Get to clacking!
Get a rhythm going
- Steady beat: fast, medium, slow.
- Rhythmic patterns: the syllables of your child’s name or lyrics to their favorite song.
- Copy cat: Make up patterns and have your child play them back (or vice versa!)
Fun tip
Get creative with the material you use for sound. Try out different clackers with washers, coins, or shells to experiment with different sounds and music making!


